Alex, Jon and myself were assigned group one : camouflage training for this assignment. We wanted to treat the stage/props like a blank canvas. Something that we could paint with light and projection but keep a believable environment for the actors to perform in and with. Before meeting with the Ibsen, Tori, Alex, Aaron, and Ashley, we discussed several camouflage techniques and at some point found a period camouflage lookout that was shaped like a tree trunk. We decided to create a forest environment for out actors to perform in. Later we added a train and tracks to the piece as a starting point of action. It gave the actors a reason for being in the environment (sabotaging the train while going through a mock training session). The script changed very little from day one. The "classroom" scene was a little harder to figure out. We decided in the end to go with a bunker type setting so that when the forest turned into it we would keep continuity with "in the field training".
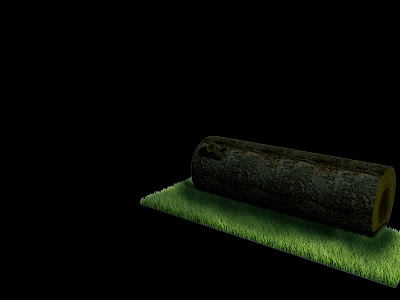
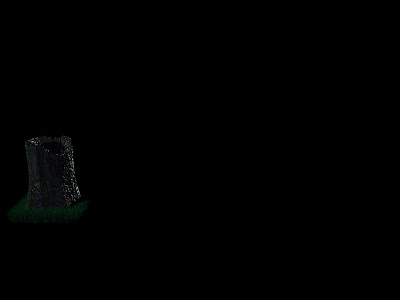
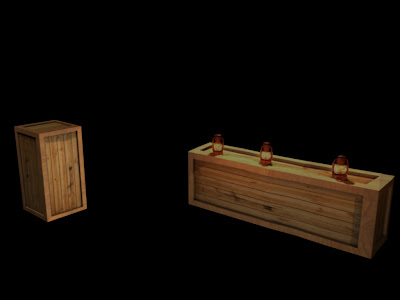
We found that when projecting onto 3 faces from a "non viewer" angle that no adjustments need to be made to projector configuration, but the process for rendering in maya does. As long as you pick a point of origin in the physical space and measure from there to your objects and projector (and matchin those measurements in maya) that projections would still align. The trouble came when trying to figure out how to compensate for the perspective difference from audience to a projector 16 feet of the ground.
We found that an extra camera was needed to correctly project from maya. We added a camera from the audiences point of view, or at least a rough estimate. We rendered from that camera, saved it as a texture material, and projected it back onto the objects from our "projector" camera. When viewed from the audience camera the texture should hypothetically create the illusion of forced perspective. I say hypothetically because properly projecting the textures is a lot harder than expected. I had to do a lot of UV tweaking. There must be a better way and definitely something we need to discover. I also learned that when rendering the texture for projection, using 2048x1536 resulted in a much higher quality render even though we rendered at 1024x768 in the end.
I wanted to create an environment that felt like more than just projections and to extend the space. I tossed out the idea of green screening one of the actors to insert them in the physical space and everyone was on board. Alex, Jon and I met over in EMMA where we set up the green screen and Alex gave us some instructions on how to light it. Later on that week we met with actress Tori, she volunteered for our experiment, to shoot the footage. When lighting the screen we basically just tried to flatten the background as much as possible and eliminate unwanted shadows. After shooting Jon and I brought the footage into After Effects where it was fairly simple to rough out the screen. We also got pretty lucky with how Tori fit into the digital space. Initially, she did not walk far enough to get to the train tracks, lucky for us we just moved them closer and it fit perfect. With a little color matching and use of a matte choker we had her in the virtual space and acting. In the end it probably gave the actors the most grief because they had to act with a video whom could not respond to and sometimes even see.
Our group put some real time in last weekend in order to pull the show together. Even though we had solidified ideas and environments, technical difficulties always slow you down. The following is Jons account of 9 hours of Friday activities.
Friday December 3 - attempted to align 3D projection maps to physical objects on stage (2
boxes), took measurements using measuring tape, dimensions of object, distance of object to
projector, height of projector relative to object, Jeremy used method from Camouflage Project
to align and project onto physical objects
- difficulty measuring the angle (vertical tilt) of the camera in the physical space, difficulty
measuring precise distances from object to camera and height of camera using measuring tape,
need a more precise tool or a more precise method to measure at these distances in complex
environments
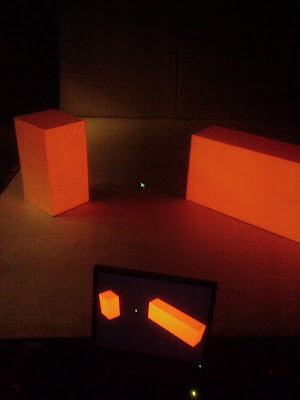
- test object (larger box lying length wise, horizontally on the right side of stage), marked and in
its final position
- in Maya, test used cube with a simple red shader as the projected object, dimensions of
physical object and other measurements entered into Maya project
- difficulty aligning projected objects with physical objects using method from Camouflage
Project, projected objects weren't oriented properly, seemingly wrong angles and distance to
camera, vertical tilt of camera also seemed off
- test object moved in physical space so front face sat head on relative to camera view,
perpendicular to camera, instead of the angle set for final position, rotated against marked
focal point (lower left front facing corner of object), this was done in an attempt to ease the
process of alignment, object in Maya reconfigured accordingly
- new measurements taken, entered into Maya project
- fail, projection map still off, seemed to make no difference, speculated either the resolution,
aspect ratio, or some other lens setting of projector was to blame
- resolution of projector correct (1024 x 768), apparently the projector is supposed to auto
detect proper resolution and aspect ratio from computer at default, so default settings were
reapplied to projector
- fail, projection map still off, seemed to make no difference
- began deviating from exact measurements, tweaking numbers in an attempt to align
projected object, sporadic success, some changes got us closer to alignment while others undid
any perceivable progress, took 1 step forward and two steps back, at this point we may have
been going in circles
- contacted Ben for assistance, reverted to measurements and ran through the Camouflage
procedure again, still ran into a similar problem with alignment, proportions of projected object
seemed off, front face too large and top face too narrow
- made attempts to raise the height of the camera in Maya project and adjust the angle
(vertical tilt) accordingly, attempt to fix issue with front and top proportions
- mixed results, seemed as though every time an issue with front or top face was resolved
something else would fall out of alignment
- determined that the height of the camera relative to the distance from the focal point of
the object needed adjustment, as opposed to changing only the height of the camera then
adjusting the angle accordingly
- attempted to use focal point (lower left front facing corner of object), as a rotation point for
camera in Maya project, allowing us to adjust the "height of the camera relative to the distance
from the focal point of the object"
- success, but only to a certain extent, after about an hour of messing around with this method
we were able to achieve a nearly acceptable alignment, the problem involved the right side or
outer edge of the test object, it was skewed at an odd angle while every other edge was aligned
properly, inexplicable and couldn't be solved with the 'focal point rotation' method
- suspected that either the lens of the projector or the camera settings in Maya were to blame
- scheduled meeting with Ben around noon the next day
We gave up for the night after getting now where. After meeting with Ben the next day, we discovered that since our projector was hung upside down, we needed to flip our film offset to negative and like magic it aligned almost perfectly.
We spent the next 14 hours sat. building and lighting our finalized virtual sets.
Sunday we managed to spend 30+ hours in an attempt to wrap up by monday. We got everything but sound which Jon and I finished on Tuesday. Jon did most of it however, I was still out of it, but I was good backup.
Tree Textures
Textures Projected back onto geometry
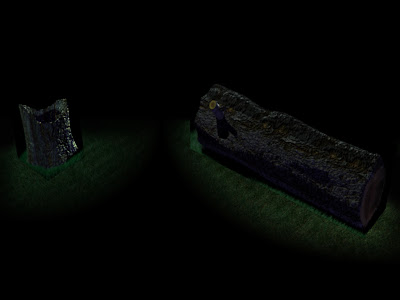
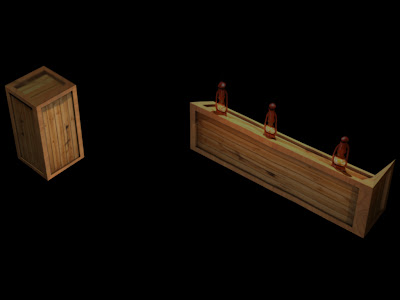
Physical Objects Projected On

Wall Projections
EARLY
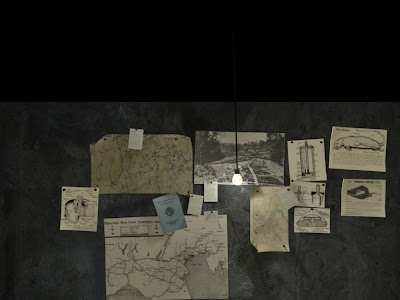
Shots While Working and From Show
Bunker/Class Performance
I had a great group, Jon, Alex, Ibsen, Tori, Alex, Aaron, and Ashley.. We all worked together great and everyone was open to change and adaptation to make this project work. Lots of long hours paid off.


